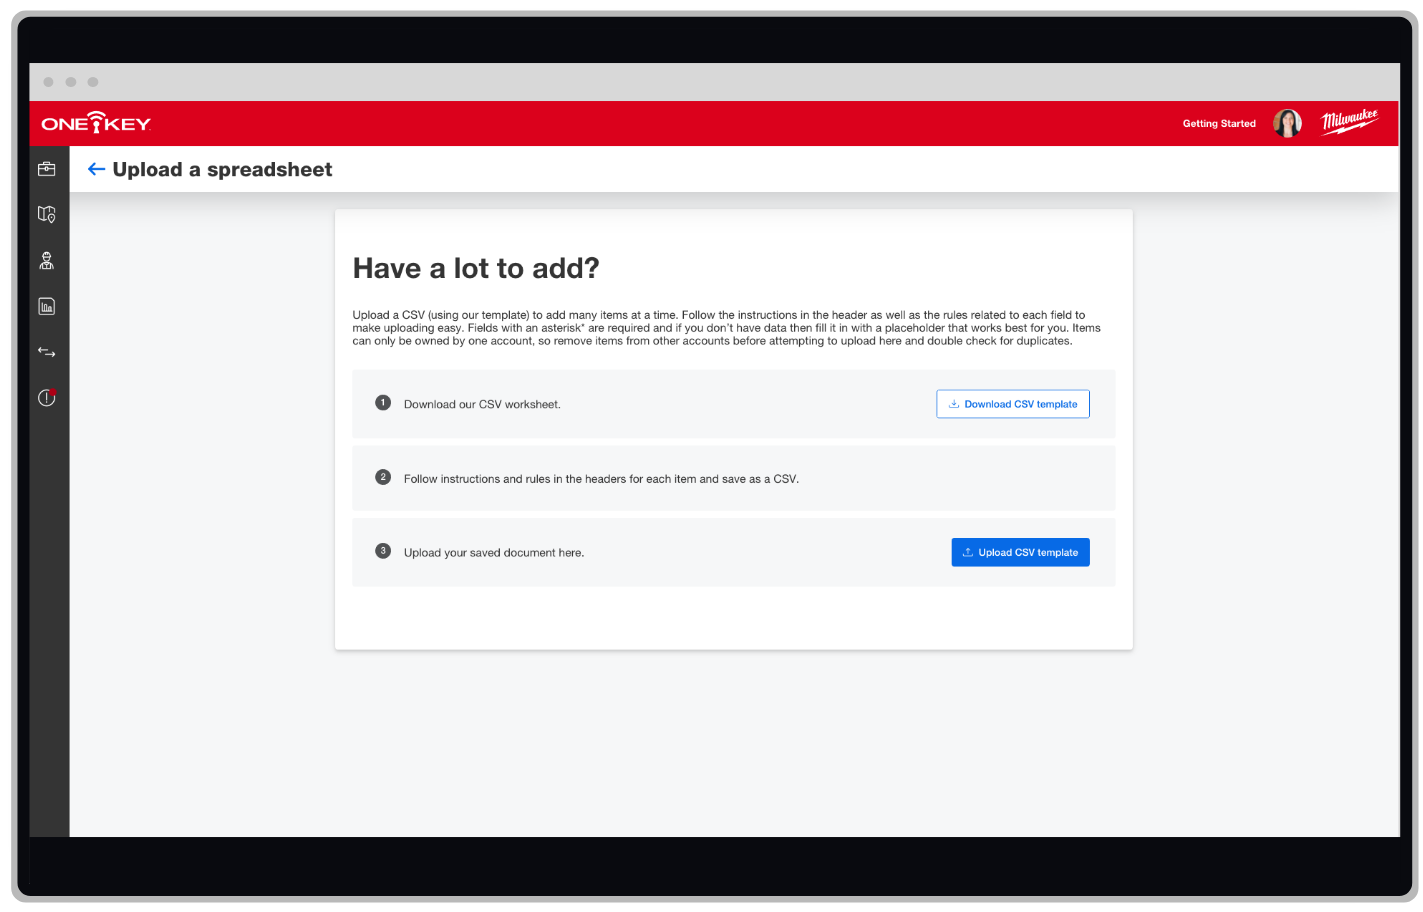
When you access the bulk uploader tool on the One-Key web app, this is what you’ll see now.

To access this page, you’ll launch your inventory, then select, “Add Item,” and then select the blue “Get template” button beside the “Upload a spreadsheet” header.
What’s changed?
-
Before, adding bulk inventory included a 4-step process that included filling out an Excel worksheet.
-
We’ve updated this worksheet in CSV format, a format that is more universal because it is plain-text, making it easier—regardless of the device and platform they’re created with—to import and store in One-Key. This saves us room in the backend to help smooth the overall performance of the application for you, while also making your upload process more seamless and headache-free.
-
We’ve added descriptions in parentheses in the headers of each new field which should be followed to ensure your document can import.
How to upload in bulk
-
Download the CSV worksheet. You can find it by first launching your inventory, then selecting, “Add Item,” and then the blue “Get template” button beside the “Upload a spreadsheet” header.
-
Follow the instructions and rules in the headers for each item on the CSV worksheet, then save to your computer. Important: Make sure to save as a CSV file to ensure a seamless upload process.
-
Upload your CSV. Again, navigate to the “Upload a spreadsheet” page in Inventory from “Add Item” (as above) and select the blue “Upload CSV template” button to find and upload your spreadsheet from your computer.
For additional support, visit our updated bulk upload support article.
What’s Next?
We will be uploading a video tutorial that outlines the new bulk uploading process to our YouTube channel. Be sure to subscribe to our channel and ring the bell to ensure you’ll be notified when we upload it.


